Showing posts with label Sewing. Show all posts

Thursday, September 22, 2011

Working Weekend


This past weekend Elton was out of town and my mom conveniently came into town, which made for a very productive weekend.  I needed someone to light the fire under my heiney-heiney-ho and my Mom was the perfect person to do that.  I got my playroom pillows completed, we recovered the rocking chair for the nursery AND I got the fabric letters done with Lawson’s name.  I blogged about these letters when I did Emery’s and they were still a PAIN!  It was so nice to have my mom help and do half the work and she bought me a light duty staple gun, which made the job A LOT easier.  She also did most of the work with the chair so I have to give her credit for at least half of the work on that and the letters.  Thank you, Mom!!!  

Here are the completed pics:  
Playroom - I took the scraps of my fabrics and put them in embroidery rings (only like $2 at Hobby Lobby) which made for easy wall decor over the play table.
Floor pillow number #1 - my favorite!  This was made from the big piece of fabric I worked so hard on last week.
Floor pillow #2
Chair pillows - I also used the big piece of "pieced fabric" as a border on the ones with the birds.  This other pillow was what I made out of the scraps from my valances.
Chair before
Chair before
 
Chair after

Another pillow I made


Fabric letters - I get the cardboard letters from Papersource, trace them onto posterboard and then cover the posterboard part with batting and fabric.  Then I cover the cardboard letters with fabric on the sides and I glue the posterboard letters on top so there are two fabrics for each letter (hard to see here).  Sounds easy, but it's a lot of work.


Thursday, September 15, 2011

Done! Well, almost...


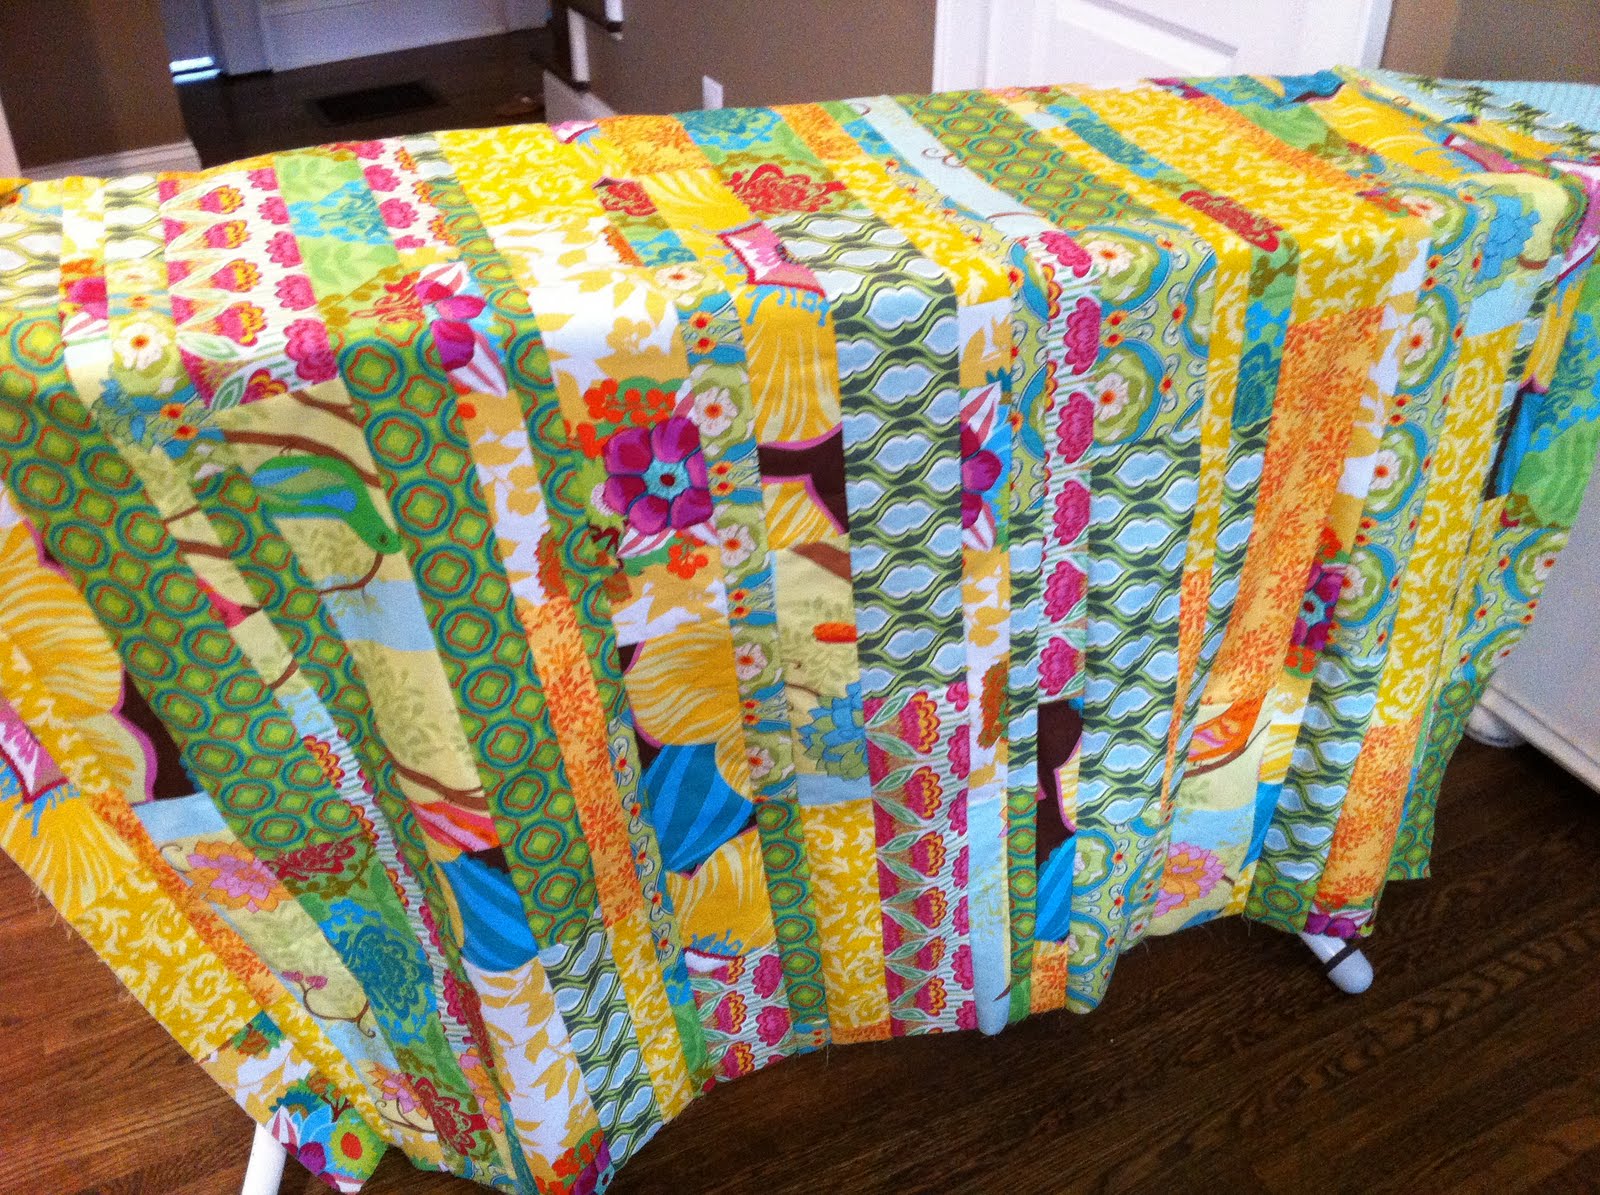
I've been working for over a week on piecing together a bunch of fabrics I bought for Emery and Lawson's playroom.  I'm now going to turn this big sheet of fabric into some pillows, but I wanted to do this first so part of the pillows had a "quilt" look to them and to bring in a bunch of different fabrics.  It's always the simplest projects I take on that seem to be the most work.  

I had to first cut the fabrics into strips of 1 1/2”, 2”, 3”, and 4” pieces and I then cut them into different lengths (so now I would have lots of lengths, but all the same widths for each grouping).  Then I organized all the different sized pieces into color groups within their “width group” and pieced them together to create really LONG 1 ½” strips, 2” strips, etc.  After I had four really long strips of those varying widths, I cut them into 60” length strips.  To create the large fabric piece shown above, I varied the widths and color groups and sewed them together lengthwise so now I have a big sheet that is 60” by about 30” or so. Got that??  Yeah, it was a little complicated and very time consuming, but I'm sort of in love with how this turned out and feel like it was well worth the work.  I just hope I don’t mess it up from this point on.


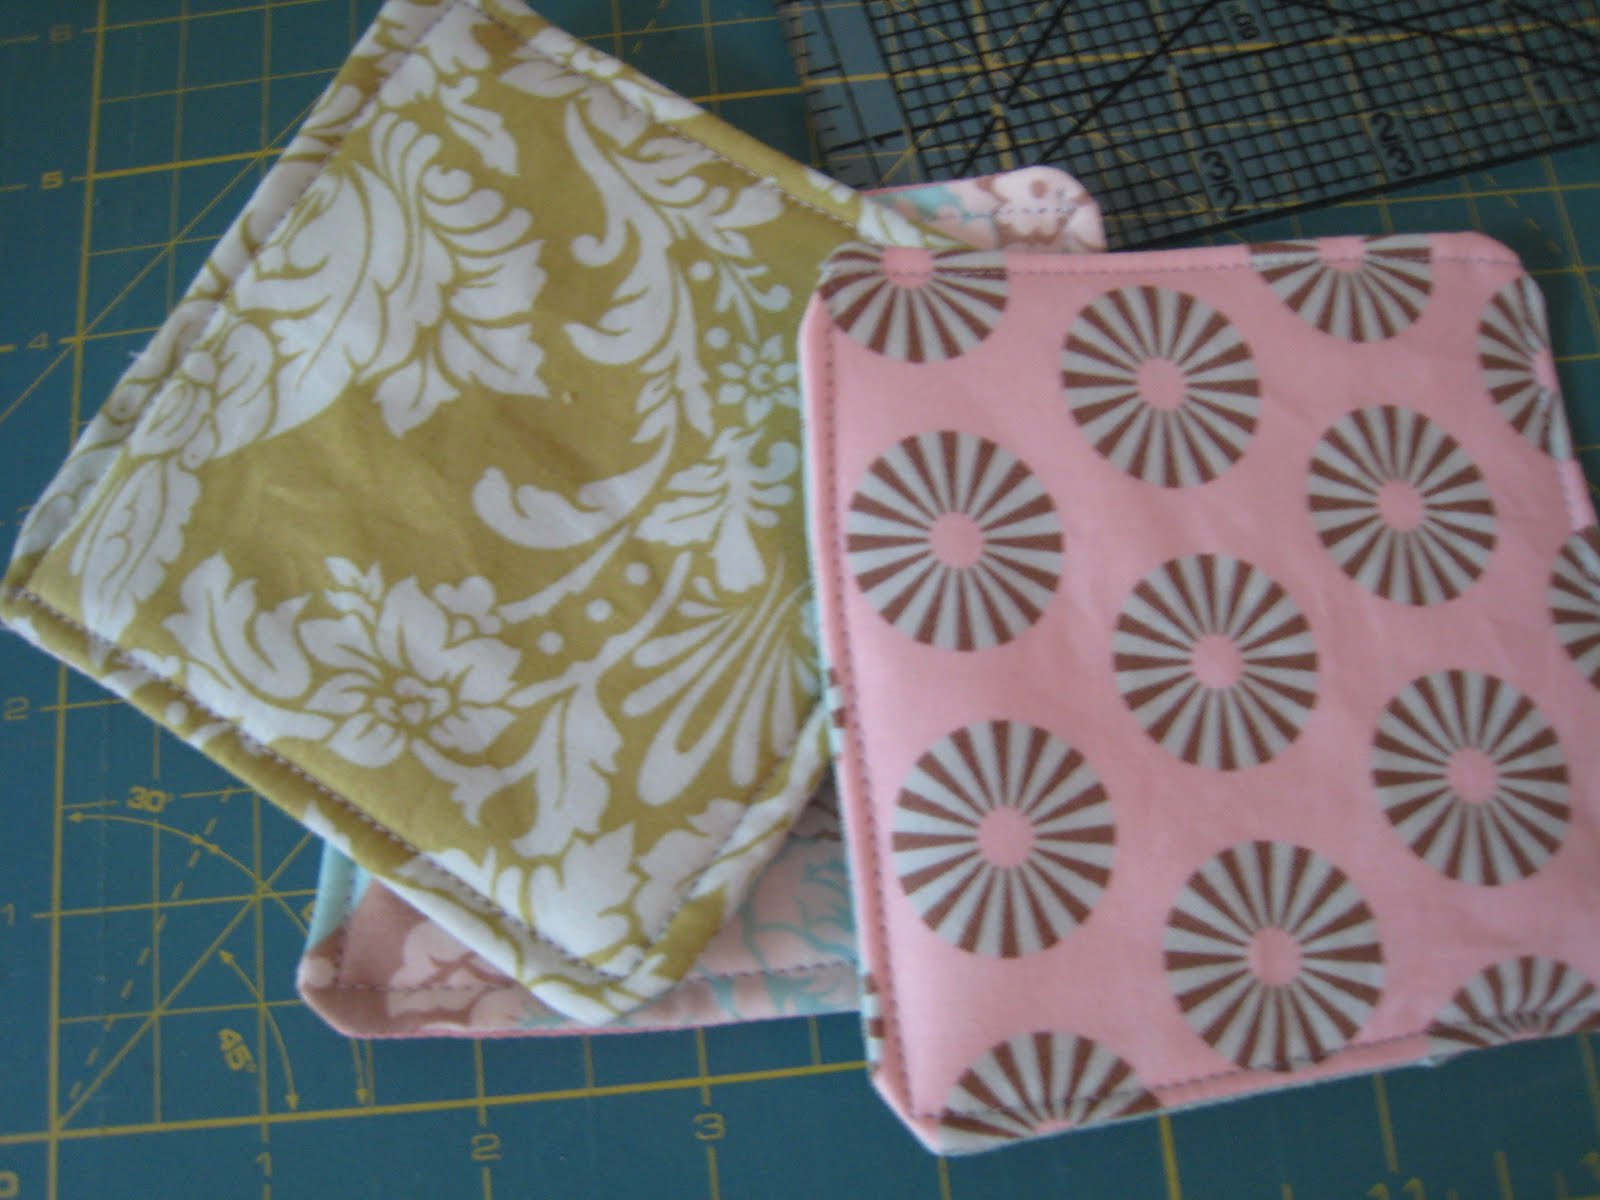
I made valances the other month out of some old curtains and one of the fabrics above and also got one very easy pillow (not pictured) with some of the scraps I had from that project.  Thank goodness something has been easy!  


Now I just need two big floor pillows and then maybe some smaller, different sized pillows for the chair.  Hopefully I'll have all this done by the end of the weekend and then I can begin to tackle Lawson's nursery.  Seven more weeks to go in this pregnancy and the nursery isn't anywhere close to being put together.  My mom is coming to visit this weekend so I'm hoping she'll help me motivate to get it done.  

Thursday, September 8, 2011

Current Craft


I have so many friends having babies or just having had a baby and I am WAY behind on my gifts.  Today I finally got motivated to do some baby crafting for two babies (a boy and a girl).  I always see appliquéd onesies and think, “That is so easy- I can totally make that in 5 minutes!” and when I finally get around to giving it a try, it takes me 5 hours.  I don’t know if I’m just really bad at appliquéing or if it’s something that will come with time.  I did learn a few tips today.  One is to put my machine on fast.  When I do it slowly, the onesie gets all bunched up and makes a mess.  The second tip I learned was that I need to just focus on keeping the edge of the fabric between my walking foot and stop worrying about what the thread is doing.  I still haven’t figured out an easy way to peel the backing off the Pellon Wonder Web paper.  Anyone have any tips for this?


I also made a bow-hanging thing (not sure what to call it), which was super easy.  I made one for Emery and it’s great for keeping your bows in one place so I decided to make it for a friend of mine who is having a girl next month.  All I did for this was take ribbon and fold it on top of each other, sew it down the sides and then sew a loop for it to hang on a hook or a doorknob.  Easy peasy!  Thank goodness one thing took me only about five minutes.

Monday, November 22, 2010

Gobble up your scraps this Thanksgiving!


My friend Emily Huband made an adorable applique turkey shirt the other week which inspired me to try some, as well. All the little cousins will be together this Thanksgiving so I thought it might be cute for them to wear matching turkey shirts on Thanksgiving morning. I've only tried a couple of things so far with applique on my machine, so I thought this might be a good idea for more practice.

First, I made my pattern pieces out of card stock for the feathers and body of the turkey. Afterwards, I cut all my fabric out and then did the same with the interfacing. I then attached the interfacing to each piece of fabric with an iron. Next, I cut some triangle beaks out and appliqued them to the bodies. Then I hand-stiched a few french knots to make the eyes. To attach to the shirts I started with the center feather and appliqued each one. Last step was to applique the body and then I was done! I started off using a tan/cream colored thread for everything but then switched to a brown thread for the bodies on the last two shirts - which i think look better. To applique things onto fabric I use the zigzag stitch on the machine and put the width of the stitch at 2.0 and the length at 1.0.


Monday, May 31, 2010

Another baby quilt


Here's a quilt I just made for my friend Cecelia's baby who is due this Friday. She likes the Amy Butler fabrics so I thought these colors were good for a baby boy (from her Lotus line). The backing is like the other baby quilts I make - the soft "cuddles" fabric (so soft!). These are great quilts for playing on or for cuddling up to when they get older.


Friday, May 21, 2010

Got scraps?


My favorite thing about making quilts is the scraps! They seem to keep pile up and I love finding things to do with them. The other day you saw how easy it was to turn them into cute burp cloths. Today I have another easy project. This one won't take more than 15 minutes.

FABRIC COASTERS


Here's what you do:

Cut 2 5x5 squares of coordinating scraps
Cut 1 5x5 batting scrap

Place the two scraps right sides together. Lay the batting on the bottom and stitch all three pieces together using a 1/2 inch seam. Start on the bottom 1/3 in the middle on one side and go around the way around, leaving an opening. Make sure to backstitch at the beginning and end.

Trim all the way around except for where the opening is and turn it inside out - make sure to get the corners out nicely. Turn the seam you didn't cut inside the coaster to enclose the space and press.

See how I trimmed all the way around except for where the opening is located?
This is the opposite side with the batting. The picture before this is the side with the two fabrics- right sides together.

Now go around the entire coaster with a 1/4 inch seam starting at one corner and ending where you began to close up the open edge and finish it off.


See how easy! I think these would make a great housewarming gift and the more you make, the better they'll turn out.

What else are you gonna do with all those scraps?


Monday, May 17, 2010

Fabric scraps + Burp cloths = Easy, cute baby gift!


I have so many fabric scraps and have seen cute burp cloths that have been made with fabric so I gave it a go. So easy and it seriously takes 5 minutes.

I just ironed down an edge on the fabric scrap, folded it under on the ends and then sewed right around. If I had an embroidery machine I would do initials or baby names on the burp cloth, but I don't. I think these make great baby gifts so if you have cute scraps and friends with a baby - you should give it a try! I just buy the 12 pack Gerber cloth diapers and use those.

Wednesday, May 12, 2010

Easy, cute pin cushion


I'm excited because my sister got a sewing machine for her birthday, so now we can talk about sewing things and share ideas. Here is a pin cushion I made for her. It's really easy and a great beginner's project if you want to try it. I found it online here.


View from bottom

Here is another one I made for my sister-in-law who got a sewing machine for Christmas.


That's all I have to blog about today. This was a big task for me. I made a pin cushion and posted something on my blog! I'm starting to get back to normal after having Miss Emery.
She watched as a made the pin cushion and told me she wants to learn how to sew one day. :)

Wednesday, March 24, 2010

DIY - Shelf to Wardrobe

I already had black shelves from our office so I decided to use them for Emery's nursery. The big one I figured I could turn into a wardrobe. All I did was take out one of the shelves that was removable and added a bar to go across to hang clothes. Then I took a curtain rod and made a curtain that can open and close in the middle to hide her hanging clothes. After a lot of searching I found baskets that would fit on the shelves and just replaced the (in my opinion) ugly liners with new ones. All I had to do was use the old ones as a pattern for new ones with coordinating fabric for the rest of the nursery.

Here are some pics:

Shelf before

Finished product

Finished product with curtain open

I bought a rod from Home Depot, painted it black, and hung it with screws and wire so there was enough room for the hangers to hang and move around.

Baskets to hold onesies, sleepers, hats, etc.

Other shelf with 2 baskets


Basket before

Basket afterwards - Much better! :)

Monday, February 22, 2010

Fabric Letters - Do it yourself!


I saw these cardboard letters at PaperSource when I found out I was pregnant and thought it would be fun to make my own fabric letters for the baby once I knew the sex and the name. I finally finished them this weekend. I’m not sure if I made these the best way, but it worked. It was a lot more difficult than I thought it would be and I was really glad she only has five letters in her name.

Here’s what I did if you want to try it on your own and if you know of an easier way – let me know. I don’t think I’m going to do this again for a while!

Supplies:

  • Staple gun with staples
  • Poster board
  • Scotch tape
  • Batting
  • Pencil
  • Super Glue
  • Glue stick
  • Cardboard letters
  • Fabrics of your choice
  • Fabric scissors
  • Regular scissors

1) Trace the letters onto poster board and cut them out.

2) Place fabric to go around the edges of your letter and staple the fabric to the front and backs of the letter (you will cover these staples with the poster board letter and the other side will be the back).

3) Trace the letters onto batting (make sure it’s facing the right direction – the batting will go on top of the poster board cutout) and cut it out using fabric scissors. Attach the batting to the poster board letter with a glue stick.

4) Place the poster board and batting letter onto the fabric you want to show on top of the letter and cut around and fold it onto the back. I used scotch tape to attach the fabric. (It’s kind of like you’re gift wrapping the letter almost). I found that cutting slits to fold down around the curved parts worked best.


5) Super glue your fabric, batting and poster board letter on top of the cardboard letter than has the fabric covered on the sides.

I punched a hold in the back of the cardboard and hung them up with nails.

Sounds easy, right? That’s what I had thought. Wrapping the fabric around the sides was definitely the hardest part for me and my hands were really sore from the staple gun. I must have used a hundred staples!

You can also use these letters for other things. I bought some a year ago from Anthropologie and hung the word “EAT” in my kitchen and love it. You could also do “SEW” for a sewing room or “TEA” if you really like tea. I wanted a 3-letter word to keep the cost down and if you’re making them, I recommend keeping your word short or you’ll hate yourself halfway through the process.

Happy Letter Making!